HotSpot Outdoors
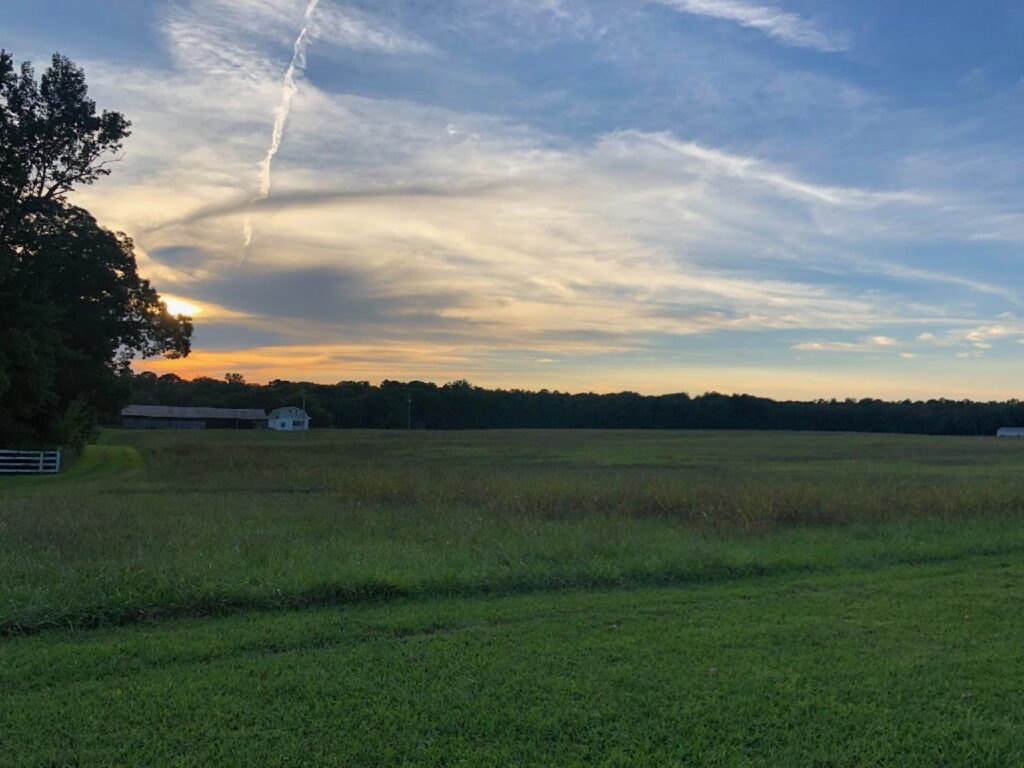
The Greatest Teacher is Nature
“Create Friendships, Partnerships, Communities“
“Look in the Mirror & Be the World
You Want to See“
Imagine, Create & plant the seeds for your decentralized community.
Help create awareness of the nature within, develop relationships, and reap what you sow.
Wisdom is, knowledge and innerstanding, “applied”. Become wise. Learn and apply your knowledge here, right now.
Can you be a leader?
Again, what is your nature, your purpose? Do you know? You can find it here.
One transmits to nature that which you are and nature responds accordingly.
Incredible things can be done simply, if one is committed to making them happen.
If you know you are one with nature, HotSpot Outdoors is for you.
For those of you with logical and mystical heart/mind coherence, additional evidence has emerged on how being in sync with nature is, not only powerful for your soul, it is, key to your health.
The positive effects on your health of, becoming part of circadian rythms, whole seasonal nutrition, medicinal plants, animals, fish, fungi, pure water, being one with nature, and educational awareness of your well-being, is irrefutable
HotSpot Outdoors is here to provide a platform for you, entrepreneurs and those who want to be a part of the natural decentralized communities created by those with your interests.
When you are ready for growth, build or join the type of community that introduces and strengthens the outdoor lifestyle you love.
Decentralized, local communities of varying interests, offering skills that can help you level up and give, are ready to be built, right now.
Your overall health, wellbeing and recreational aspirations are in your own hands.
With like minded entrepreneur and enthusiast generated communities that provide information to interact with, you can take yourself and others to a whole new level in health and wellbeing related to natures abundance.
These decentralized social networks are a great place to meet like minded folks and generate long term friendships, partnerships and abundance based relationships.
Perhaps grow your own long term business via your own HotSpotOutdoors decentralized network.
Self organizing HotSpots are where you create opportunities to learn about, share or access your world’s golden age.
Create those memories right now…
Popular HotSpot Connection Guides Below
Lose yourself in paradise with “soul refreshing” recreational hotspot guides.
Trolling the Rocks for the Picture Perfect Eye on Lake of the Woods
As the wind dies and the waves start to dissipate, Lake of…
Continue Reading Trolling the Rocks for the Picture Perfect Eye on Lake of the Woods

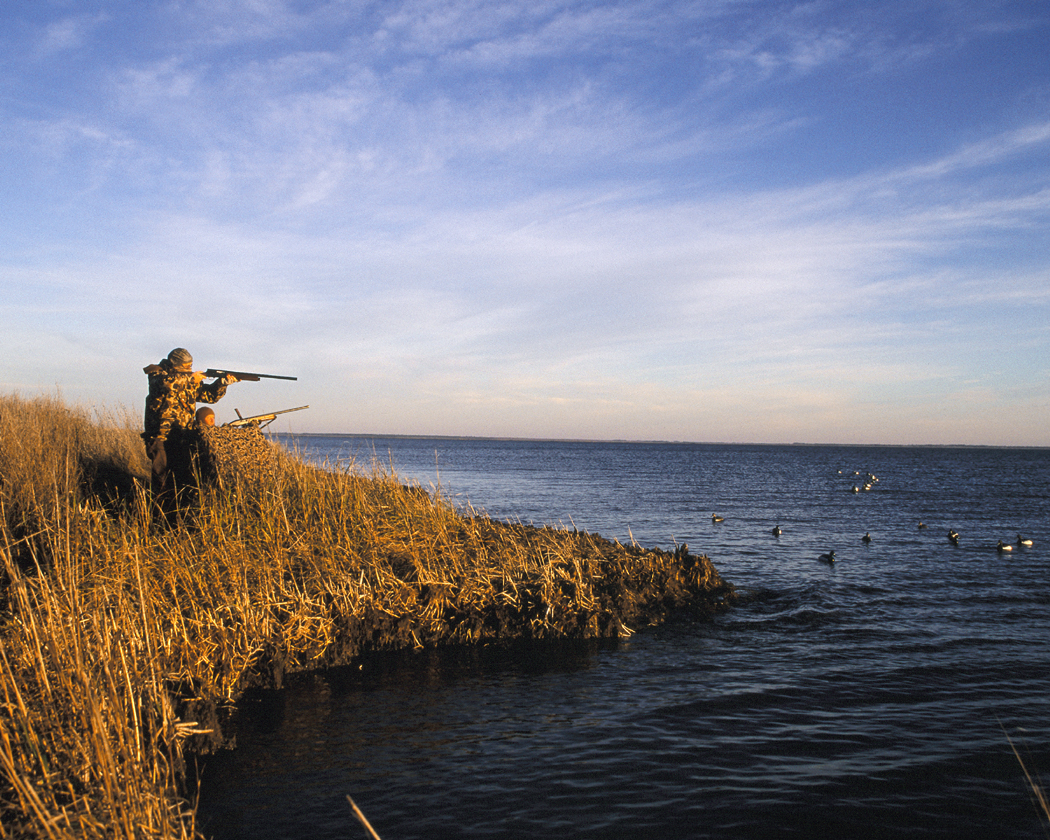
Shake, Rattle and Troll – Fall Tactics 2017
One man’s cheat sheet for knowing when and when not to call…
Continue Reading Shake, Rattle and Troll – Fall Tactics 2017

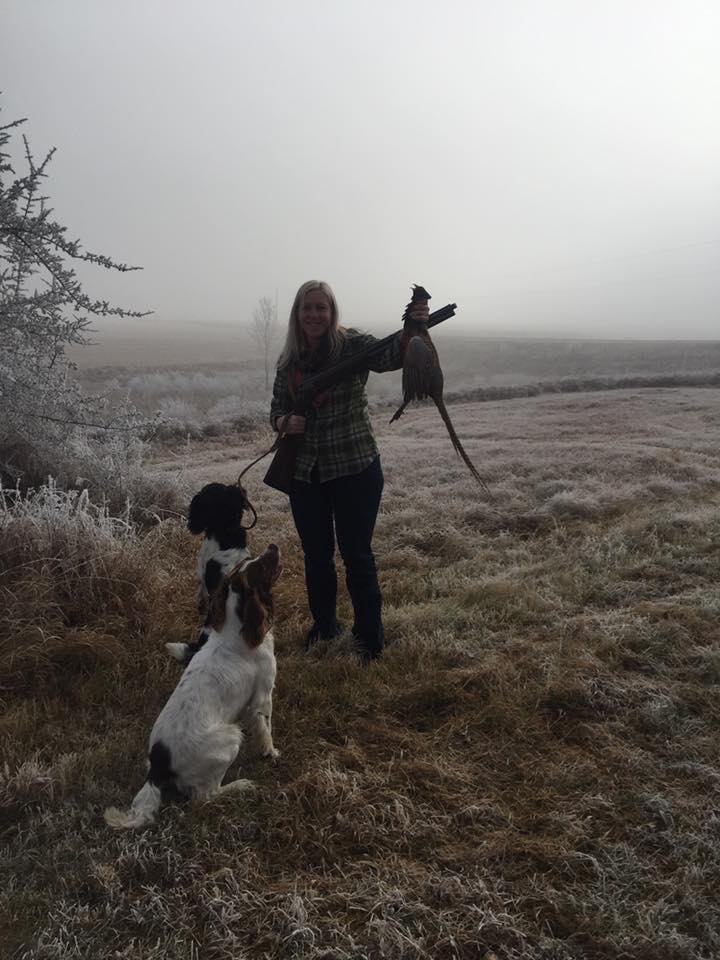
How to Care for and Transport Scent Free Gear
Let’s face it, many well meaning hunters make the investment in scent…
Continue Reading How to Care for and Transport Scent Free Gear
When Climbing Higher for Deer Hunting, Don’t Forget to Stay Connected
Deer hunters who climb more than 40 feet or film their hunting…
Continue Reading When Climbing Higher for Deer Hunting, Don’t Forget to Stay Connected
Learn how to connect with your people
Enjoying a HotSpot.
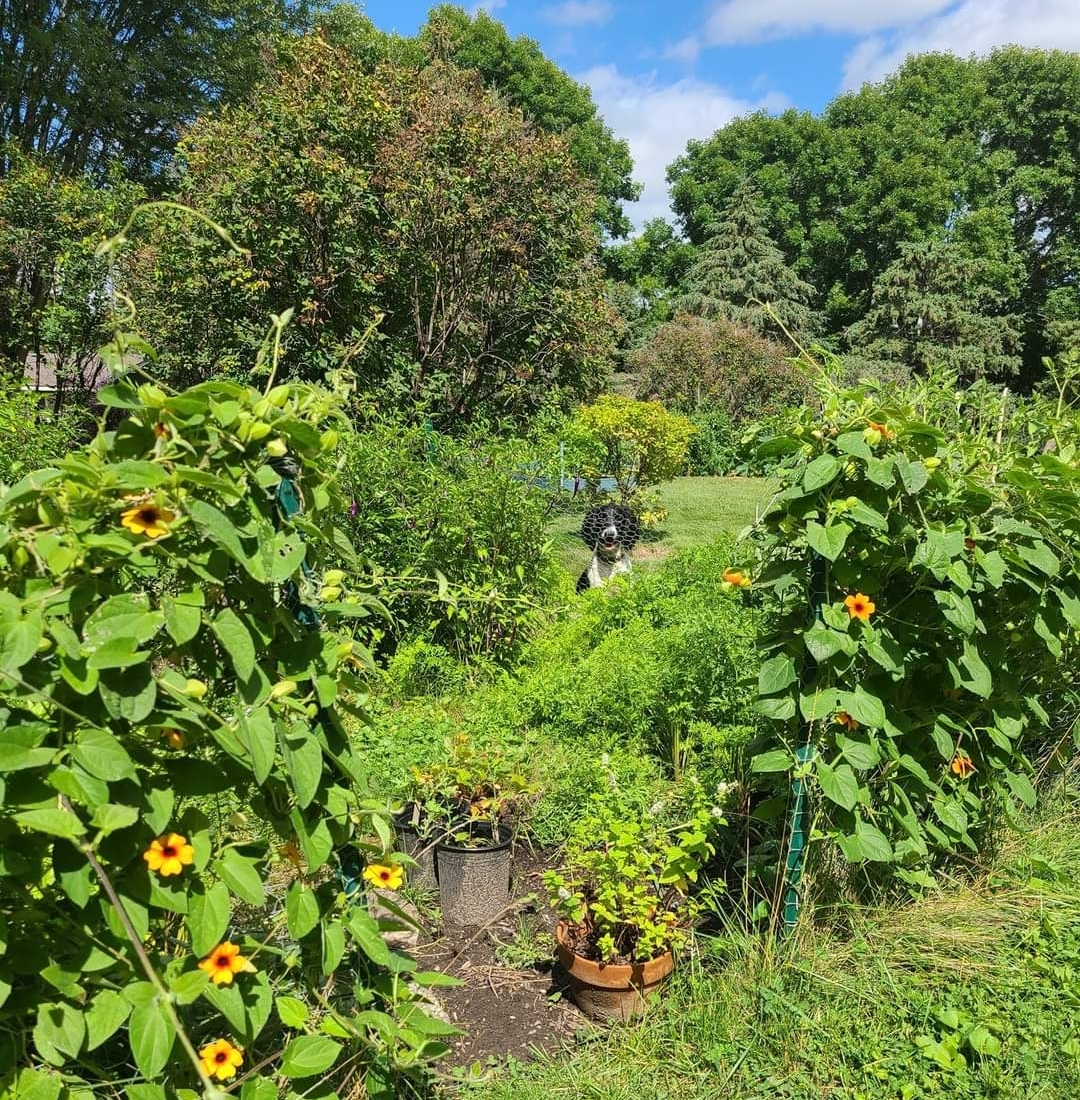
Your Urban HotSpot
Connection to Earth.
Recreate responsibly, create or join a HotSpot, and see the world with a vision towards responsible connection.
Recreation Reports
Get practical advice based on expert experience and adventures.
Flesh Eating Beetles Do the Work
First question I always get asked is, “Do they ever get out?” Matter of fact they…

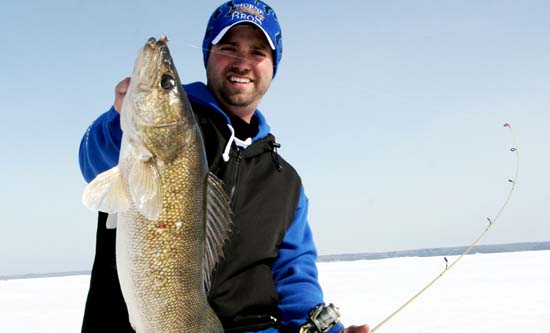
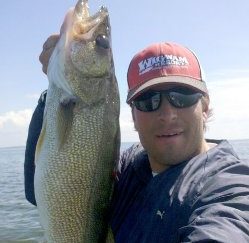
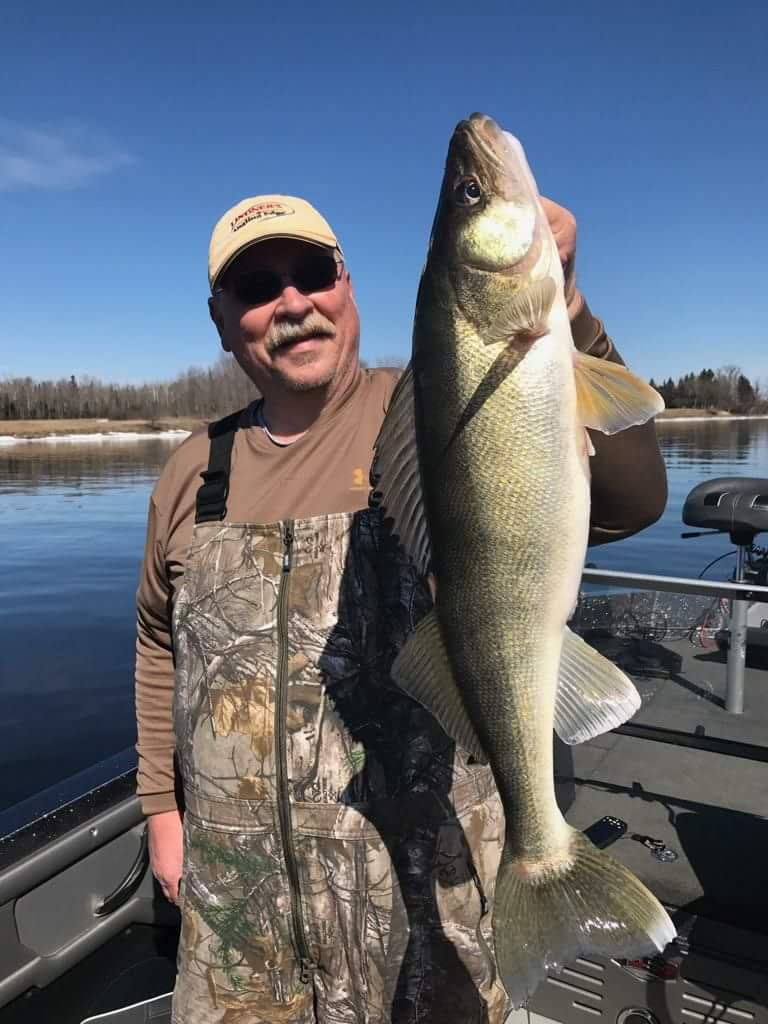
Classic Fall Crankbait Patterns for Huge Walleyes
with Jason Mitchell The fact that walleye fishing is good come fall is no secret. Realistically…
Continue Reading Classic Fall Crankbait Patterns for Huge Walleyes
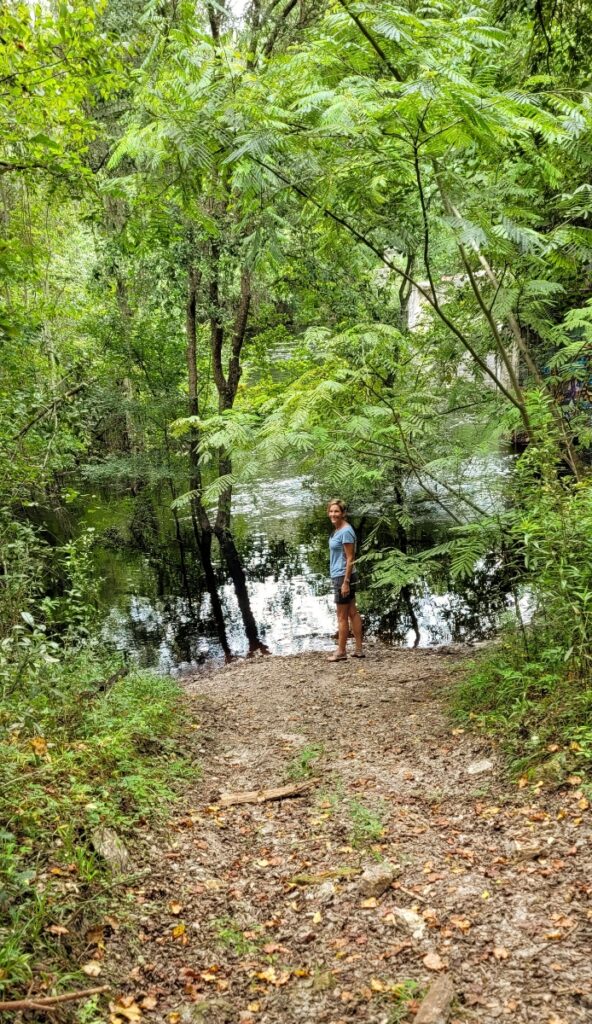
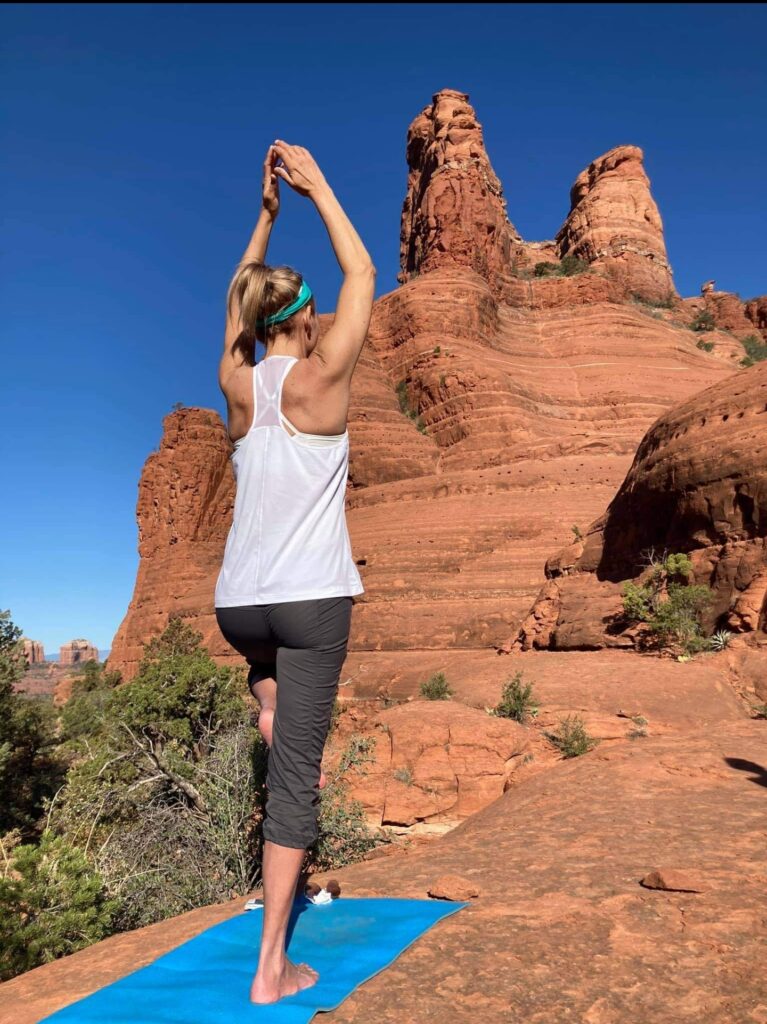
Experience More: Go further with what you have.
Learn the tips and tricks that allow you to meet your natural recreation desires.
Spend your time, in all your precious moments, loving your life!
Annabelle Grace Paquin
Connections for Foodies
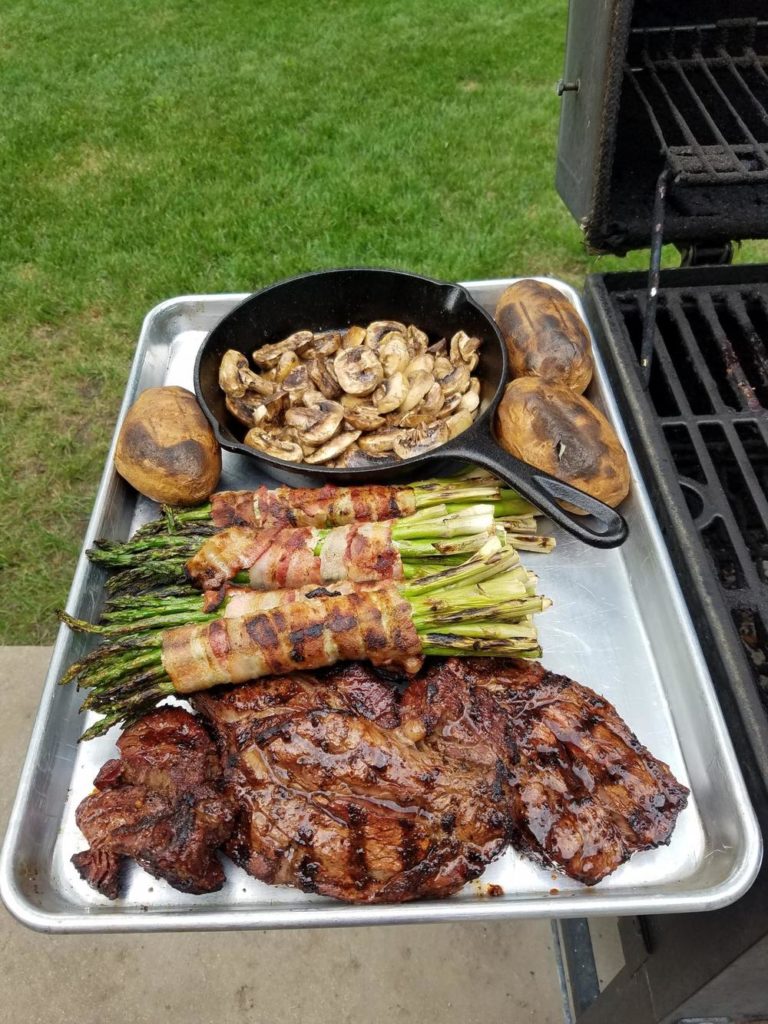


HotSpots worth joining for the culinary (or liquid) delights alone.
Activities we love
Create memories with these extraordinary experiences when you get there.